Max was excited about his new position as the refrigeration system manager at a food processing plant just outside of Chicago. He would be overseeing a system that was relatively new, constructed just 7 years prior.
He stepped into the role armed with training provided by his predecessor, system drawings and details from the engineers and contractors on the build project, and his years of experience in refrigeration system operations.
Soon after settling in, he stumbled upon an interesting discovery in the system. What he found was enough of an outlier that it planted a seed of doubt. Doubt cannot take residence in mechanical integrity, so he knew the only way to move forward was to verify what he trusted, and he enlisted us to help.
I wasn’t privy to the events that predicated Max’s decision to contact us to perform NDT testing. He submitted the standard information that gives us an overview of the system, and after review I thought everything looked pretty routine. I assumed this job on a relatively “young” system would be similar to others we’ve conducted.
I was wrong.
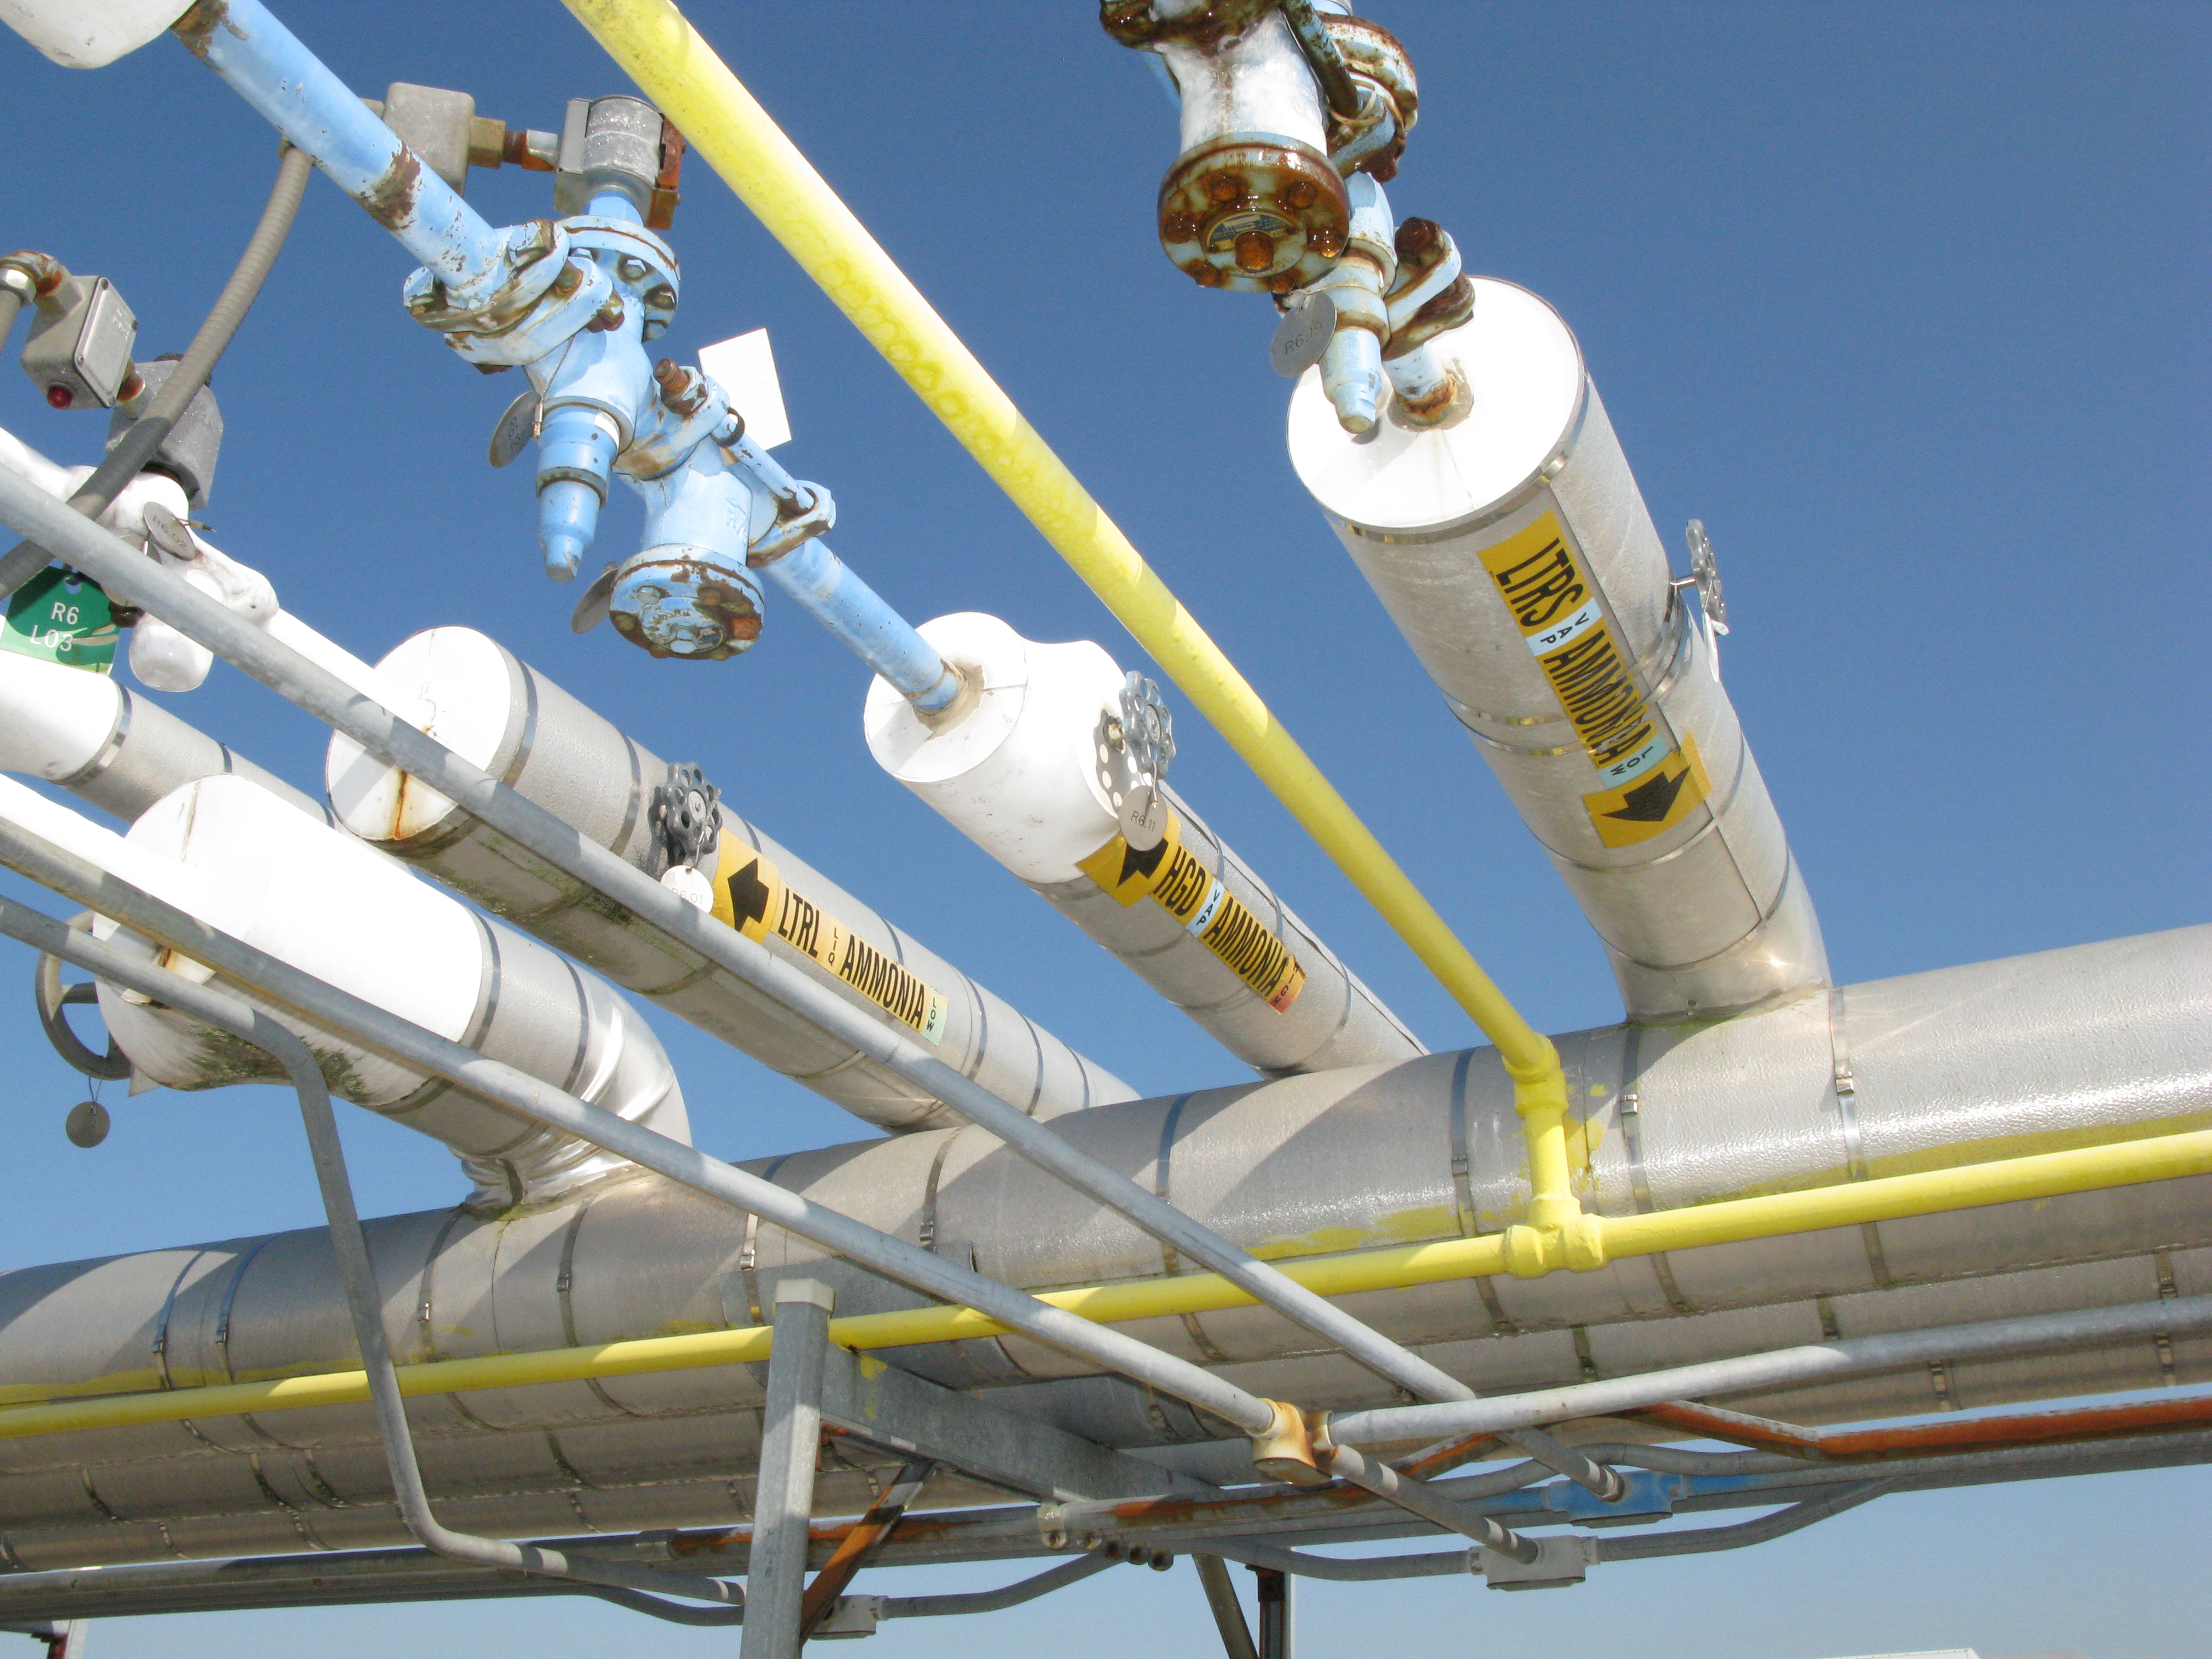
My first tip-off that this was not going to be a typical job was when I received a call from our technician shortly after he arrived at the site. He was somewhat miffed and informed me that the pipe headers he was to examine extended 12 feet above the roof instead of the usual three or four. This slowed him down a bit, as instead of quickly moving from one testing point to another, he was now climbing up and down and moving a ladder around.
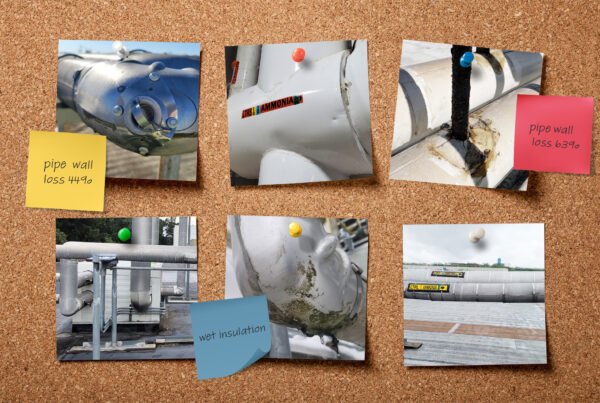
Then came the second oddity. The readings from our Profiler were incredibly low, which indicated serious deterioration or a different pipe size than documented. And we found not just a few areas that measured low, as is typical when we test, but dozens of locations with extremely thin pipe. That seemed impossible, because this plant was only seven years old—the pipe should generally still be in good shape.
Given its age, the most likely scenario was that the system was filled with pipe that was too thin from the start.
It was time to do some sleuthing.
While reviewing our findings with Max, he explained that we were brought in because they had a system failure. Without going into too much detail, he explained that a piece of equipment had suffered damage. And while replacing the equipment, they found connected pipe that wasn’t up to code—his interesting discovery.
While, his P&IDs indicated that the rest of the facility had been installed correctly with pipe that was to code, he wanted to be sure.
When we gave him our theory that he actually had questionable pipe throughout the system, he brought out his diagrams to support his assumption that the rest of the system was sound.
The P&IDs indeed showed that the pipe that was up to code everywhere. The facility manager had commissioned an independent contractor to draft new drawings not long after the system was installed. The contractor was hired to verify and document parts, location and size of the entire system.
He trusted this contractor, so he drew a dangerous conclusion on our current predicament—that the drawings were accurate. He also thought we would lose confidence in our data after reviewing his “proof” that the rest of the system was to code. Conversely, I was sure our Profiler was accurate, our data was sound, and our interpretation was correct.
“We haven’t lost confidence in our data. However, we do not have confidence in your drawings,” I stated. “Let’s take a closer look at a couple of the trouble spots indicated by the Profiler, and if we are wrong, I will personally restore the insulation and jacketing.”
With Max present, we removed the insulation from one area and indeed found schedule 40 pipe where there should have been schedule 80.
Even more shocking, in another location we found schedule 10 piping—yes, schedule 10. Max was mortified. This schedule 10 low pressure/thin wall pipe starts at 40% thinner than nominal for common ammonia piping, with a wall thickness well past acceptable standards.
Max had inherited a shoddy system, built incorrectly and documented poorly. He now had two problems to fix—(1) 10 percent of the pipe supporting his system was junk and needed to be replaced, (2) and the drawings he had invested in that turned out to be false, need to be corrected.
Still, he was able to draw on the silver lining, “The equipment failure was a blessing. We’re lucky we found the rogue piping. We were given the opportunity to avoid another failure that would have surely been catastrophic.”
Just as I had trusted this would be a typical job, he had trusted that his system was built and documented without mistakes. Fortunately, the failure caused Max to question his assumptions about the stability of his system. Until it failed, things seemed fine. It was quite possible the incorrect pipe he found as a result of that failure was a singular issue. After all, he had a contemporary facility, diagrams that indicated everything was up to code, and no visible
signs of damage or deterioration like ice or peeling jacketing.
With Radiometric Profiling, a quick scan of the entire system delivers confidence in the integrity of your pipe. We are able to investigate further as each anomaly is revealed (without disruption or scope and cost changes), so Max was provided with all the data he needs to verify integrity and resolve critical problem areas.
Max managed assumptions and uncertainty in his ammonia system by eradicating it with data. Fact-based, concrete, verifiable data. Speaking of which, this job helped me change my assumptions as well. I’ve updated our questionnaire so we won’t be surprised anymore by 12-foot-high pipe runs.


